Designing a kitchen island that actually works
Tap to expand
Designing a kitchen island that actually works
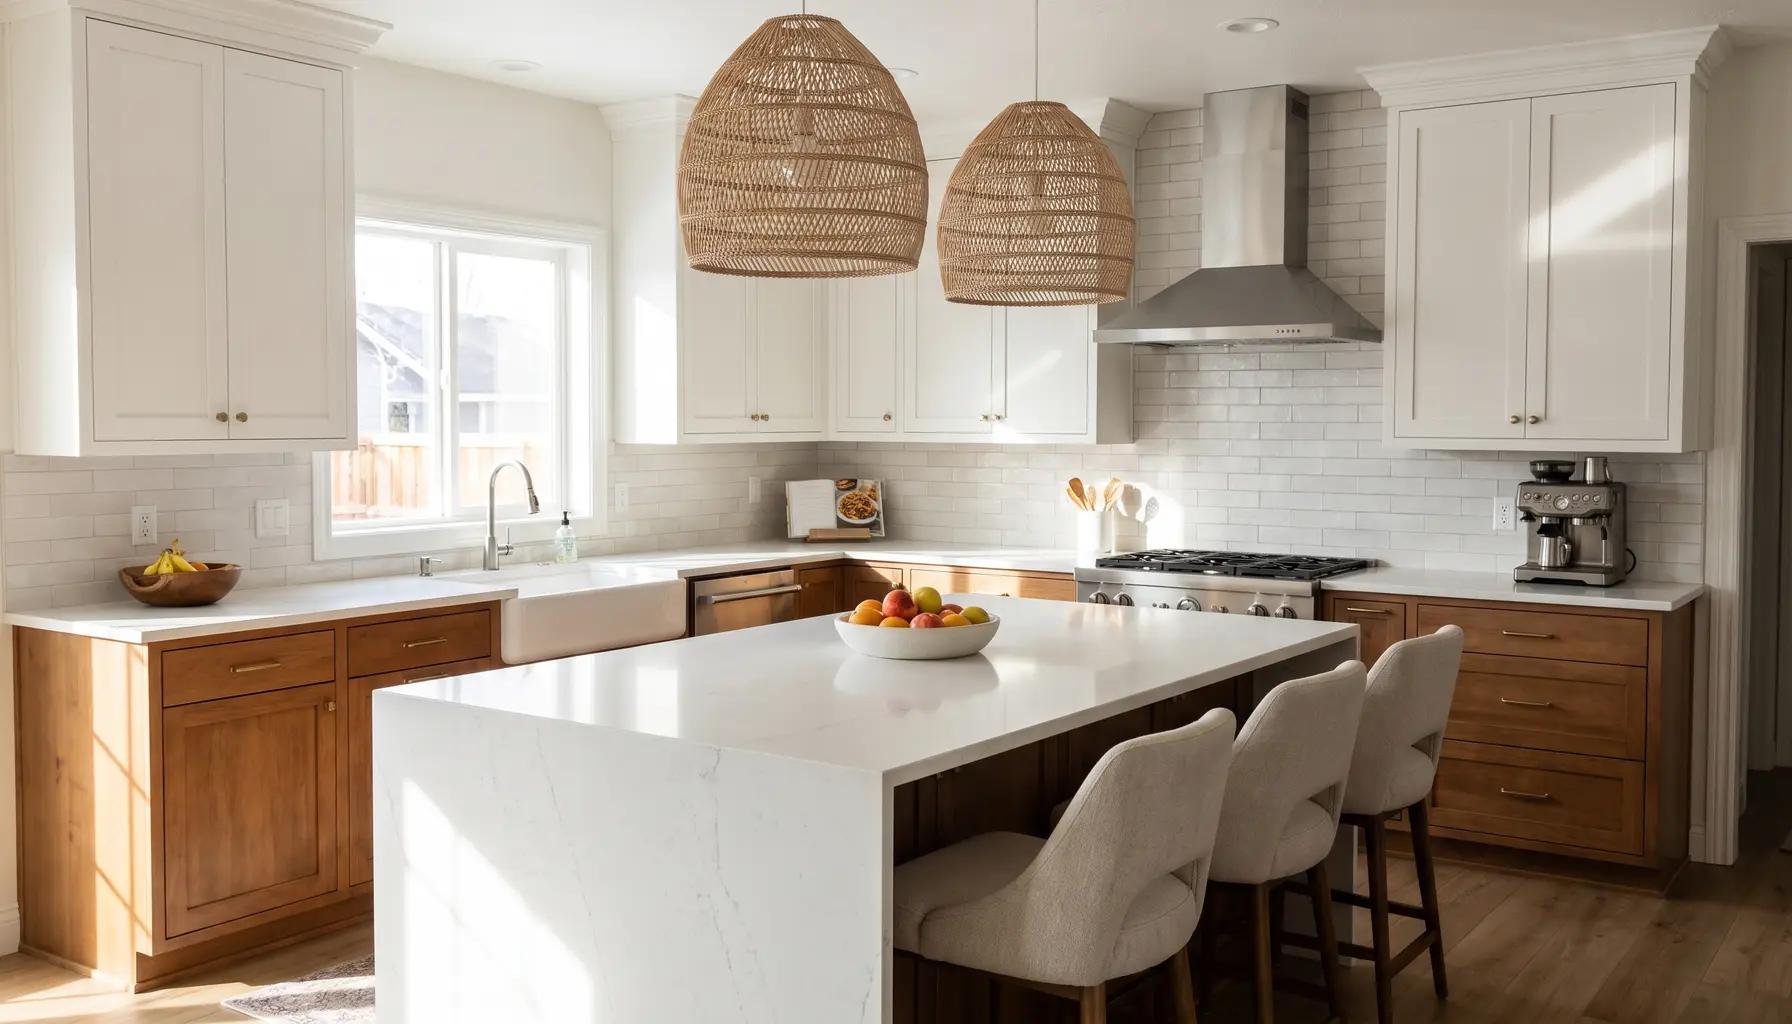
A well-designed island needs about 42-48 inches of clearance on all sides - usually meaning a kitchen at least 12-13 feet wide - roughly 24 inches of counter width per seat, and an early decision about whether it will hold a sink or cooktop. The island is the most-requested feature in kitchen remodels because it does so much at once: prep space, storage, seating, and a social anchor for the room. But it is also the feature people most often get wrong, forcing one into a space that cannot support it or sizing it without thinking through how it will be used. This guide covers the numbers and decisions that separate a great island from a frustrating one. It is part of our Boise Kitchen Remodeling Guide and builds on our kitchen layout ideas.
Clearance: the number that decides everything
Tap to expand
Clearance: the number that decides everything
Before any other decision, confirm your kitchen can fit an island at all - and that comes down to clearance. You want about 42 to 48 inches of open space on every side of the island. Forty-two inches is the workable minimum that lets a person pass, a dishwasher or oven door open, and cabinet doors clear; 48 inches is more comfortable, especially on the side where the cooking happens and two people might work at once. Tighter than 42 inches and the island stops helping and starts hurting - the kitchen feels cramped and the walkways clog. Because a typical island is three to four feet deep, this clearance requirement is why a kitchen generally needs to be at least 12 to 13 feet wide to support an island. If your kitchen cannot deliver that clearance, do not force it; skip to the peninsula section below. Getting this number right is the single most important thing in island design, because everything else depends on the island fitting the room comfortably.
Sizing the island
Tap to expand
Sizing the island
Once clearance is confirmed, size the island itself. A common, comfortable island runs about three to four feet deep and six to seven feet long, but the right size is simply whatever fits your kitchen while preserving that 42-48 inch clearance on all sides. The island should be big enough to earn its place - useful for prep, storage, and seating - without dominating the room or stretching the work triangle so far that cooking becomes a hike. In a very large kitchen, resist the urge to make the island enormous; an oversized island forces you to walk around it constantly and can leave the center hard to reach across. A double island, or an island plus a separate prep zone, often works better than one giant slab. In a smaller-but-adequate kitchen, a compact island around two by four feet can still provide meaningful prep space and a seat or two.
Seating that is actually comfortable
Tap to expand
Seating that is actually comfortable
Seating is one of the main reasons people want an island, so plan it deliberately. Allow about 24 inches of counter width per seat so people are not bumping elbows - a six-foot island seats two to three comfortably along one side, a longer island four or more. Just as important is knee room: for a comfortable overhang you need about 12 to 15 inches of clearance under the counter for legs, which may call for support brackets or corbels if the overhang is deep. Decide on counter height versus bar height early, because it changes stool selection and the look. Seating on one end or one side keeps the working surfaces free on the other. And think about traffic - seating should not sit where the cook needs to move constantly, or where the path from the kitchen to the dining room runs. Comfortable, well-placed seating turns the island into the spot where homework happens, guests gather, and quick meals get eaten.
Sinks, cooktops, and ventilation
Tap to expand
Sinks, cooktops, and ventilation
The biggest fork in island design is whether to put a sink or cooktop in it. Both are popular and both turn the island into a genuine work zone rather than just a surface. A sink - often a prep sink or the main sink - lets the cook face the room while working, but it requires running plumbing and drainage to the island, which means opening the floor. A cooktop makes the island the cooking hub, but it requires electrical or gas run to the island and, critically, ventilation - either a downdraft vent or a hood dropped from the ceiling, both of which add cost and design considerations. These features are wonderful when the budget supports them, but they are also where island costs climb fastest. If the budget is tight, a prep-and-seating island with no utilities is far simpler, avoids opening the floor and adding vents, and is still enormously useful. Decide this early, because plumbing and electrical routing shape the whole project.
Storage and the working island
Tap to expand
Storage and the working island
An island is prime real estate for storage, and good design uses every cubic inch. The base is essentially a large block of cabinetry, so fill it with deep drawers for pots, pans, and dishes, a pull-out trash and recycling cabinet, and dedicated storage for the items used at the island - mixing bowls, cutting boards, small appliances. On the seating side, the space beneath the overhang can hold open shelving or shallow cabinets for cookbooks or baskets. If the island has a sink, the cabinet below handles under-sink storage and often the dishwasher, keeping the cleanup zone together. Electrical is easy to forget: plan outlets in the island for small appliances and device charging, placed where they are handy but not unsightly, and meeting code for island receptacles. A well-organized island quietly absorbs a huge amount of a kitchen's storage load, which is part of why it makes the whole room work better. Pair it with the storage ideas in our cabinet trends guide.
When a peninsula is the smarter choice
Tap to expand
When a peninsula is the smarter choice
If your kitchen cannot deliver 42-48 inches of clearance on all four sides, the right answer is not a shrunken island - it is a peninsula. A peninsula attaches to the existing cabinet run or a wall at one end, so it needs clearance on only three sides. It provides most of what an island does - extra counter, storage, seating, and a bit of separation from the living area - without the width a freestanding island demands. Peninsulas suit many older Boise homes and medium-sized kitchens beautifully, and they are the classic way to open a closed kitchen partway to a dining room. Choosing a peninsula over a cramped island is not a compromise; it is the correct design decision for the space, and it usually results in a kitchen that flows far better. Do not let the popularity of islands push you into forcing one where a peninsula belongs.
Island mistakes to avoid
Tap to expand
Island mistakes to avoid
A handful of island mistakes come up again and again. The first and worst is inadequate clearance - an island jammed into a space that cannot support it, choking the walkways. The second is making the island too big, so its center is unreachable and cooks trek around it. The third is combining seating and cooking badly, putting guests' knees next to a hot cooktop or in the cook's path. The fourth is forgetting outlets and lighting - an island needs receptacles and usually pendant or recessed lighting overhead to work after dark. The fifth is choosing a countertop that fights the use, like a heat-sensitive surface around a cooktop; our quartz vs quartzite guide covers that trade-off. Avoid these and the island becomes the best-loved part of the kitchen; ignore them and it becomes the thing everyone works around.
Lighting the island
Tap to expand
Lighting the island
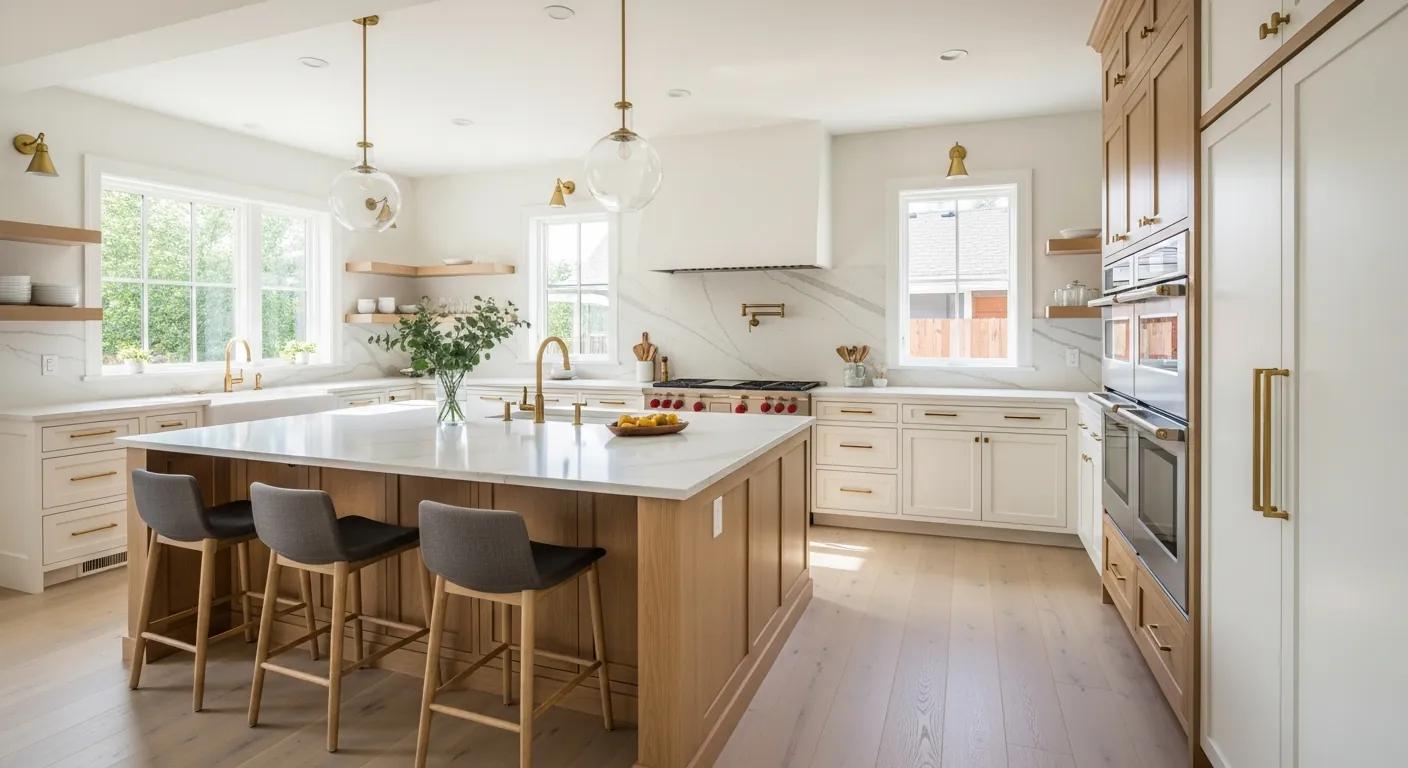
An island needs its own lighting, both to work at and to anchor the room visually. The most common approach is pendant lights hung above the island - typically two or three, sized and spaced to the island's length, hung high enough to clear sightlines (usually around 30 to 36 inches above the counter). Pendants do real work as task lighting and double as a design statement, so they are worth choosing carefully to complement your hardware and fixtures. Add recessed cans nearby for even, shadow-free light across the whole surface, since pendants alone can leave the ends dim. If the island holds a cooktop, the ventilation hood may provide task light as well. Put island lighting on its own switch, ideally dimmable, so the island can shift from bright prep light to a softer glow for gathering. Well-planned island lighting is one of those details that quietly makes the whole kitchen feel finished and intentional.
What an island adds to the budget
Tap to expand
What an island adds to the budget
An island's cost is basically custom cabinetry plus countertop plus any utilities, so it scales with size, material, and features. A straightforward island with cabinets, a countertop, seating, and outlets adds a moderate, predictable amount. Add a sink and you add plumbing; add a cooktop and you add electrical or gas plus ventilation - each pushing the number up meaningfully because of the trades and the floor and ceiling work involved. Premium countertops, a waterfall edge, or a contrasting island color add more. None of this should discourage you - an island is one of the highest-impact features in a kitchen - but it should be planned intentionally against the whole budget rather than added as an afterthought. See our kitchen remodel cost guide for how the island fits into the total.
Design your island with a pro
Tap to expand
Design your island with a pro
The difference between an island you love and one you tolerate is in the details - clearances, seating, utilities, and storage planned around your real kitchen. Our free in-home consultation includes measuring your space and telling you honestly whether an island or a peninsula fits, what it would do for the room, and what it would cost. When you are ready, schedule a consultation, use the instant estimator, or read the full Boise Kitchen Remodeling Guide.