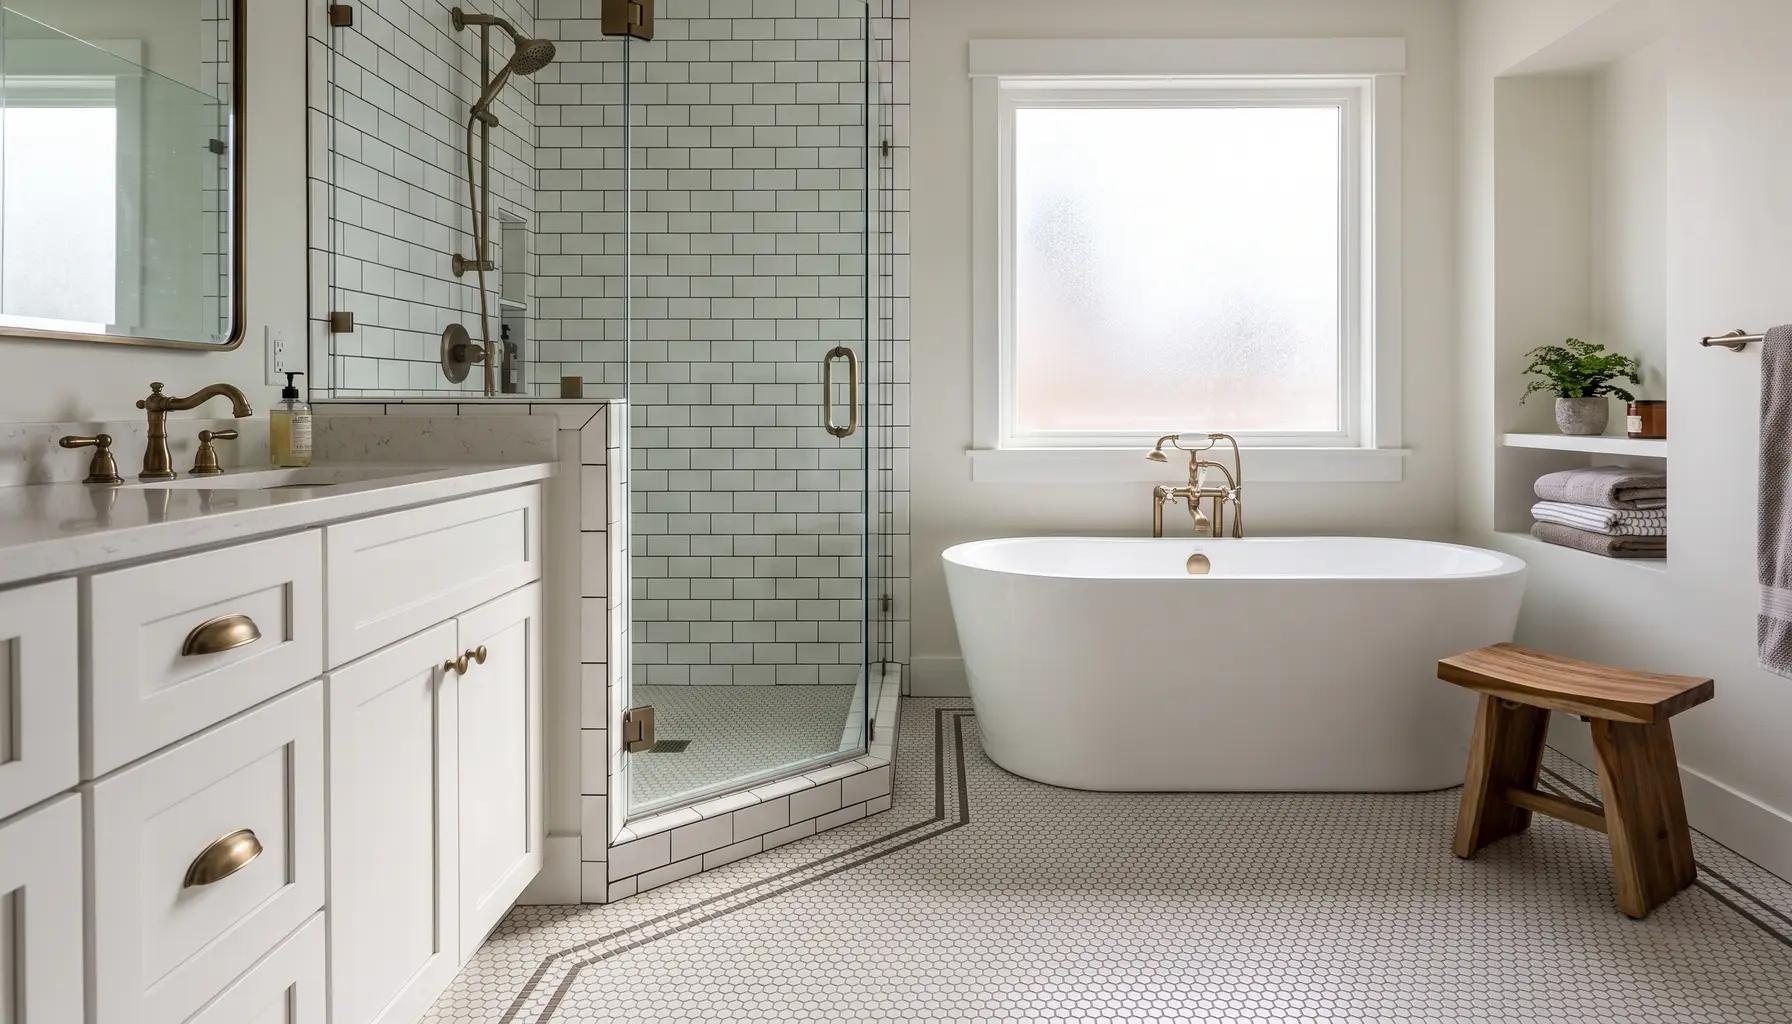
Planning a bathroom layout that works
Tap to expand
Planning a bathroom layout that works
A good bathroom layout respects standard clearances - roughly 21 inches minimum (30 preferred) in front of fixtures, 15 inches from a toilet centerline to any wall or fixture, and a clear path from the door - while keeping plumbing grouped to control cost. Plan the wet zone (tub and shower) together, place the toilet out of the direct sightline, make sure the door does not collide with fixtures, and size everything to the room. Layout is the foundation of a bathroom remodel: get it right and the room feels comfortable and functions effortlessly; get it wrong and no amount of beautiful tile will fix the daily friction. This guide covers the principles and numbers that make a bathroom layout succeed. It is part of our Boise Bathroom Remodeling Guide.
Standard clearances and dimensions
Tap to expand
Standard clearances and dimensions
Comfortable, code-compliant bathrooms follow a set of well-established clearances that are worth knowing. Leave at least 21 inches of clear floor space in front of the sink, toilet, and tub - 30 inches is noticeably more comfortable and worth it where the room allows. A toilet needs at least 15 inches from its centerline to any wall or adjacent fixture on each side (so a minimum 30-inch-wide space), and about 24 inches of clear space in front. A shower should be at least 30 by 30 inches, with 36 by 36 or larger far more comfortable. Vanities are typically 30 to 36 inches high, and doorways ideally provide a 32-inch clear opening (wider for accessibility). These numbers are not arbitrary - they reflect the space a human body actually needs to use each fixture without cramping. A layout that honors them feels effortless; one that shaves them to squeeze in an extra feature feels tight every day. When space is scarce, our small bathroom remodel ideas show how to work within these minimums gracefully.
Plumbing placement drives the budget
Tap to expand
Plumbing placement drives the budget
The single biggest factor in what a layout costs is where the plumbing goes. Every fixture - sink, toilet, tub, shower - connects to water supply and drain lines, and moving those lines is expensive, involving opening walls and floors, rerouting pipes, and sometimes structural or subfloor work, especially for a toilet's large drain. The most budget-friendly layout therefore keeps fixtures in or near their existing locations and groups them on shared "wet walls" so plumbing runs are short and consolidated. This does not mean you are stuck with a bad layout - but it does mean that every fixture you relocate adds cost, so relocations should earn their keep by genuinely improving how the room works. A skilled designer balances the ideal layout against the plumbing reality, often finding a arrangement that improves flow while keeping most fixtures near their existing rough-in. Understanding this trade-off up front helps you spend where it matters. Our bathroom remodel cost guide details how plumbing moves affect the total.
The wet zone concept
Tap to expand
The wet zone concept
A useful way to think about bathroom layout is in terms of a wet zone - the area containing the tub and shower where water and humidity concentrate - and the drier zone with the vanity and toilet. Grouping the tub and shower together in one wet zone simplifies waterproofing and plumbing, keeps moisture contained, and usually makes the most efficient use of space. Many modern bathrooms combine the tub and shower or place them side by side along one wall, sharing plumbing and a single glass enclosure or wet-room design. This leaves the rest of the room drier, more comfortable, and easier to keep clean. Organizing the layout around a defined wet zone also clarifies the waterproofing scope, which - as our walk-in shower guide stresses - is the most important hidden element of any bathroom. Whether your bathroom has a separate tub and shower or a combined unit, thinking in zones helps you place fixtures logically and keep the plumbing and waterproofing sensible and cost-effective.
Sightlines and first impressions
Tap to expand
Sightlines and first impressions
A well-planned bathroom considers what you see when the door opens. The goal is for the first view to be attractive - a beautiful vanity, a freestanding tub, or a tiled feature wall - rather than the toilet. Placing the toilet out of the direct sightline, to the side or partly screened by a half-wall or the vanity, makes the room feel more gracious and is a hallmark of thoughtful design. This principle costs nothing but consideration and dramatically improves how the bathroom feels, especially for guest and powder rooms where the door is often open. Sightlines also matter for the mirror and for natural light: positioning the vanity and mirror to catch and reflect window light makes the room brighter and more open. These are the subtle, human touches that separate a bathroom that merely fits its fixtures from one that feels genuinely designed - and they are decided entirely at the layout stage, which is why layout deserves careful attention before any finishes are chosen.
Doors, storage, and circulation
Tap to expand
Doors, storage, and circulation
Two practical details make or break a layout. First, the door swing: a door that swings into the bathroom must not collide with the vanity, toilet, or open shower door, a frequent problem in tight spaces. Solutions include reversing the swing, hanging the door to open outward, or - the best fix for small bathrooms - installing a pocket door that slides into the wall and reclaims the entire floor area the swing would consume. Check the door early, because it constrains where fixtures can go. Second, storage and circulation: the layout should include room for a vanity with real storage, a linen cabinet or recessed niche, and a clear, unobstructed path to move through the space. Towel bars, hooks, and the toilet-paper holder all need logical, reachable homes planned into the layout, not added as afterthoughts. Good circulation means you can move from door to vanity to shower to toilet without awkward detours or squeezing past fixtures. These pragmatic considerations, settled during layout planning, are what make a bathroom pleasant to use day after day.
Layouts by bathroom size
Tap to expand
Layouts by bathroom size
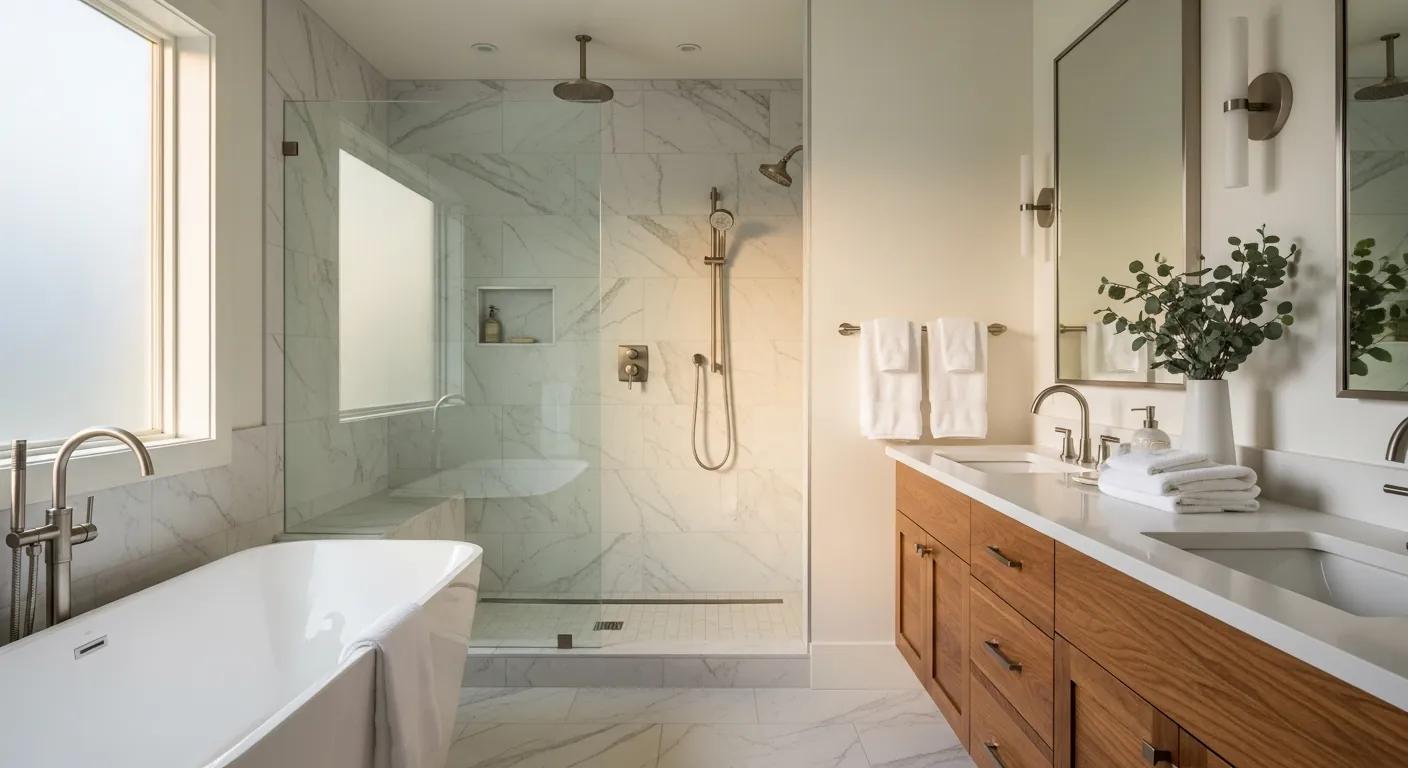
Different bathroom sizes call for different layout strategies. A small full bath or powder room works best with fixtures grouped on one or two walls, a corner or compact shower, wall-mounted or floating fixtures to show floor, and often a pocket door - efficiency is everything, as covered in our small bathroom guide. A standard family bathroom typically arranges a vanity, a toilet, and a tub-shower along one or two walls in a logical sequence, sometimes with the toilet in its own semi-private nook. A larger primary bathroom opens up options: a double vanity, a separate shower and freestanding tub, a private toilet compartment (water closet), and a dedicated dressing or makeup area, all arranged around defined wet and dry zones. And an accessible or aging-in-place layout prioritizes clear turning space, a curbless shower, and wider clearances, as our aging-in-place design guide explains. Matching the layout strategy to the room's size - rather than forcing a large-bathroom plan into a small footprint - is the key to a result that feels right for the space you actually have.
Ventilation, electrical, and lighting in the plan
Tap to expand
Ventilation, electrical, and lighting in the plan
A complete layout accounts for more than fixtures - it plans the ventilation, electrical, and lighting that make a bathroom healthy and functional. Every bathroom needs a properly sized exhaust fan vented to the outside to control the moisture that otherwise causes mold and damages finishes; its location - near the shower, the source of the most humidity - should be set during layout. Electrical planning means placing GFCI-protected outlets where they are actually needed (at the vanity for grooming tools, and near the toilet if a bidet or smart toilet is planned), plus switches positioned logically by the door. Lighting should be layered into the plan: ambient ceiling light, task light flanking or above the mirror where it lights the face without shadows, and any accent or shower lighting, all on sensible, ideally dimmable, switching. These systems are far cheaper and cleaner to route while the walls are open during a remodel, and retrofitting a fan or an outlet later means opening finished walls. Folding ventilation, power, and light into the layout from the start - rather than treating them as afterthoughts once fixtures are placed - is what makes the finished bathroom not just well-arranged but genuinely comfortable and code-compliant to use.
Should you change the layout?
Tap to expand
Should you change the layout?
A common decision in bathroom remodels is whether to keep the existing layout or change it. Keeping fixtures where they are is the economical choice and often perfectly good - if the current arrangement works, refreshing finishes and fixtures within it delivers a beautiful result affordably. But when the existing layout genuinely fights how you use the room - a cramped shower, a toilet in a bad spot, wasted space, or no room for the storage or double vanity you want - reconfiguring is worth the cost, because you live with the layout every day for years. The way to decide is to weigh the improvement against the added expense of relocating plumbing and any structural work. A designer can quickly show you both options - a finishes-only refresh within the current layout, and a reconfigured plan - with honest costs for each, so you can choose with clear eyes. Often the best answer is a modest, targeted change that fixes the layout's real problems without moving every fixture, capturing most of the benefit for a fraction of a full reconfiguration's cost.
Plan your bathroom layout with a pro
Tap to expand
Plan your bathroom layout with a pro
The layout is the decision that shapes everything else in a bathroom remodel, and it rewards professional planning. Our free in-home consultation includes measuring your bathroom and showing you layout options - what works within your existing plumbing and what a reconfiguration would gain - with honest costs. When you are ready, schedule a consultation, use the instant estimator, or read the full Boise Bathroom Remodeling Guide.