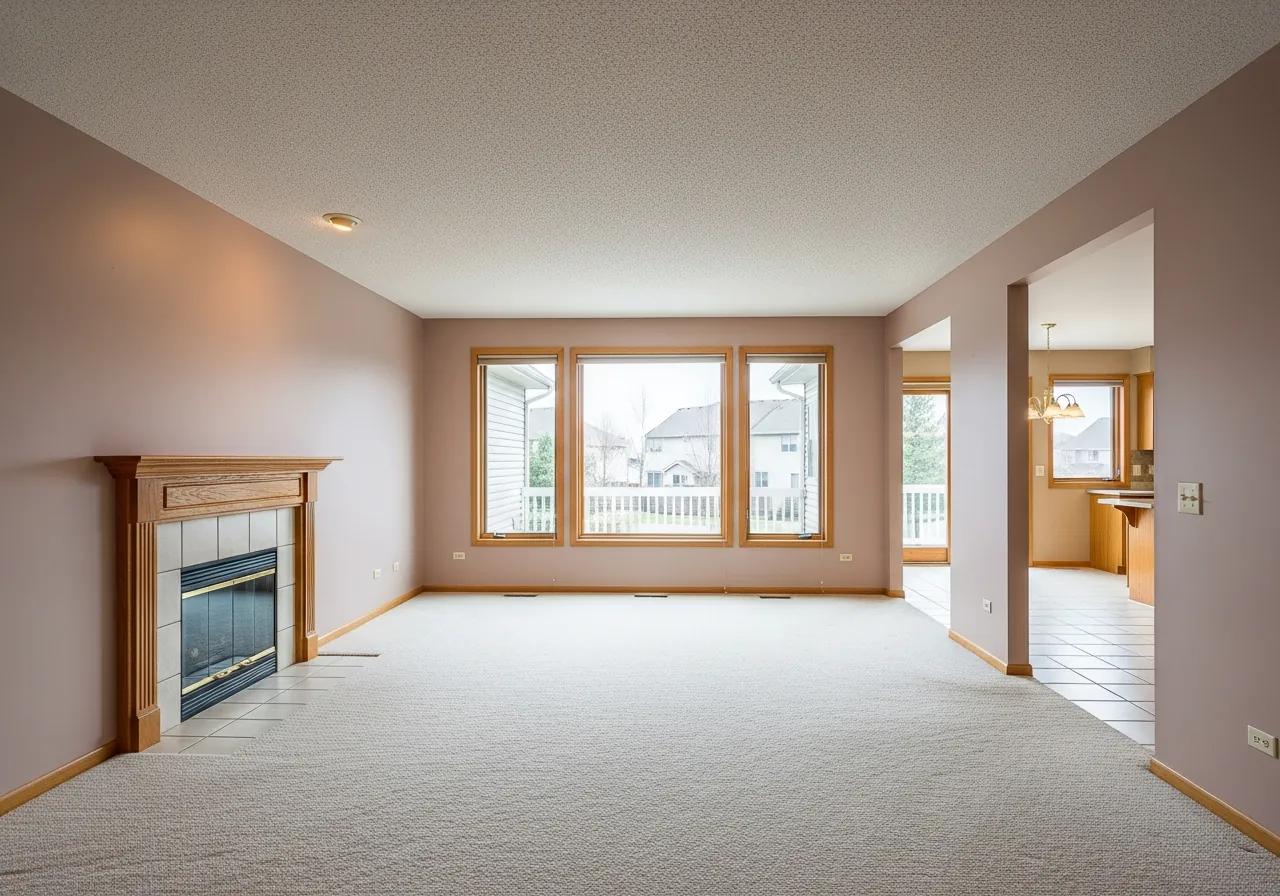
Knowing what happens at each stage of a remodel takes the anxiety out of the process and helps you plan. This guide walks you through a design-build remodel from start to finish: the two big phases, what happens during preconstruction and design, how permits fit in, the construction phases step by step, and how the project wraps up with a punch list and warranty. Understand the roadmap and you will always know where you are and what comes next.
The big picture
Every remodel has two phases: preconstruction (design, selections, estimating, permits) and construction. Investing in a thorough preconstruction phase is what keeps construction efficient - most delays and overruns trace back to decisions that were rushed or left unmade before the work started.
1. It starts before the demo
Homeowners often picture a remodel as demolition and building, but the phase that most determines success happens first. Preconstruction is where the design is developed, every material is selected, the scope is priced, and permits are secured. Finalizing all of this before demolition is what lets construction run smoothly and predictably.
Preconstruction, in order
- Consultation & scope - goals, space, and rough budget. See What to Expect at a Consultation.
- Design development - the layout and look are refined into a real plan.
- Selections - every finish and fixture is chosen. See our Material Selection guide.
- Estimate - the full scope is priced in detail and locked.
- Permits - plans are submitted and permits pulled; materials ordered.
2. Permits belong in the schedule
Permits are not an afterthought - they are part of the master schedule. Most structural, electrical, plumbing, and layout-changing work requires them, and permitting protects your safety, your insurance, and your home's value at resale.
Key point
Permit review takes time, which is part of why preconstruction spans weeks to months. A good contractor handles permitting for you and builds it into the schedule. Our Boise Permit guide explains what needs a permit and how the process works.
3. The construction phases, step by step
Once permits are in hand and materials ordered, construction follows a logical sequence. The exact steps vary by project, but the order is consistent:
- Demolition - the space is removed as needed; hidden surprises are uncovered and addressed.
- Structural - any framing changes, beams, or foundation work happen first.
- Rough-in - plumbing, electrical, and HVAC are run, then inspected.
- Insulation & drywall - the space is insulated, then closed up and finished.
- Finishes - flooring, cabinetry, tile, trim, paint, and fixtures.
- Final inspection - the work is verified against code and signed off.
Why several phases include a wait
Inspections must be scheduled, and materials like concrete, mortar, and grout need cure time that cannot be rushed. These dependencies - not slow work - are why even a small project spans weeks.
4. Selections and change orders
The single biggest thing you control is making decisions before construction starts. Selections made on paper during design are inexpensive; the same decisions made mid-construction become change orders that add cost and delay and ripple across trades.
Avoid mid-project changes
Every discretionary change after demo means a change order - added cost, added time, and sometimes redoing completed work. Finalize your selections up front and hold to them. The contingency in your budget is for genuine surprises, not second-guessing. See Remodeling Mistakes to Avoid.
5. Punch list, walk-through, and warranty
A remodel is not done when the last tile is set. A thorough contractor completes a punch list - the final details caught in a walk-through - and stands behind the work with a warranty. Both should be defined in your contract from the start, so you know exactly how the project will be completed and supported.
6. Why the process matters when choosing a team
A clear, well-run process is one of the best signs of a contractor worth hiring. A design-build firm manages every phase above - design, selections, permits, and construction - under one roof, so one team is accountable from your first conversation to the final walk-through. See Questions to Ask a Contractor.
Ready to start the process?
The first step is a conversation about your goals and what is possible. When you are ready, schedule a free consultation or try the instant estimator.